
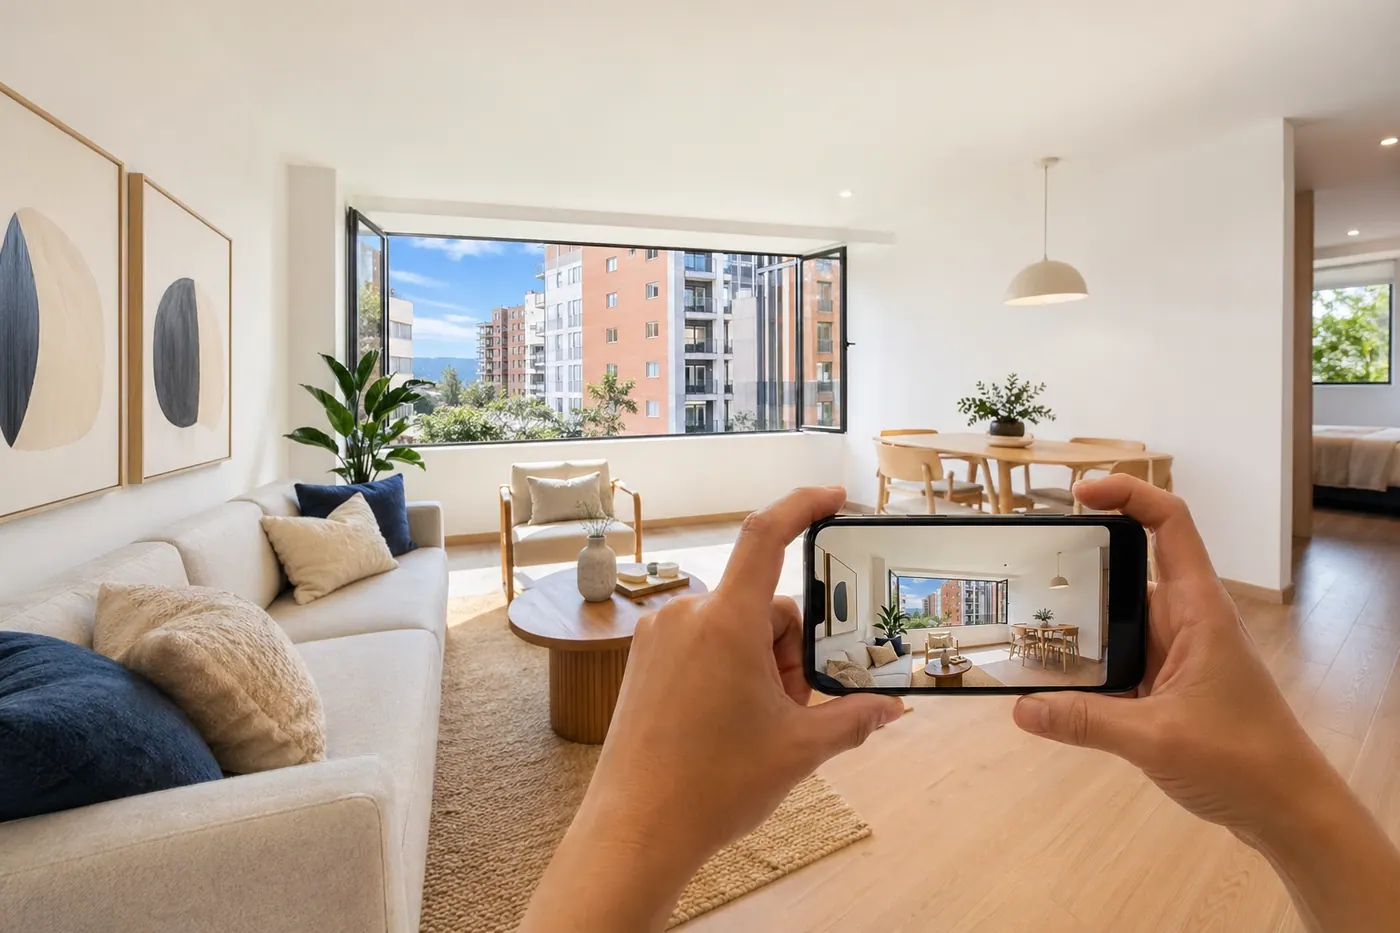
How to take photos that sell a house or apartment in Colombia
The difference between an ad that receives messages and one that barely gets any almost always has the same explanation: the photos. Here's the practical guide to do it right with your phone.
IDIOMA DEL ARTÍCULO
Showing original language
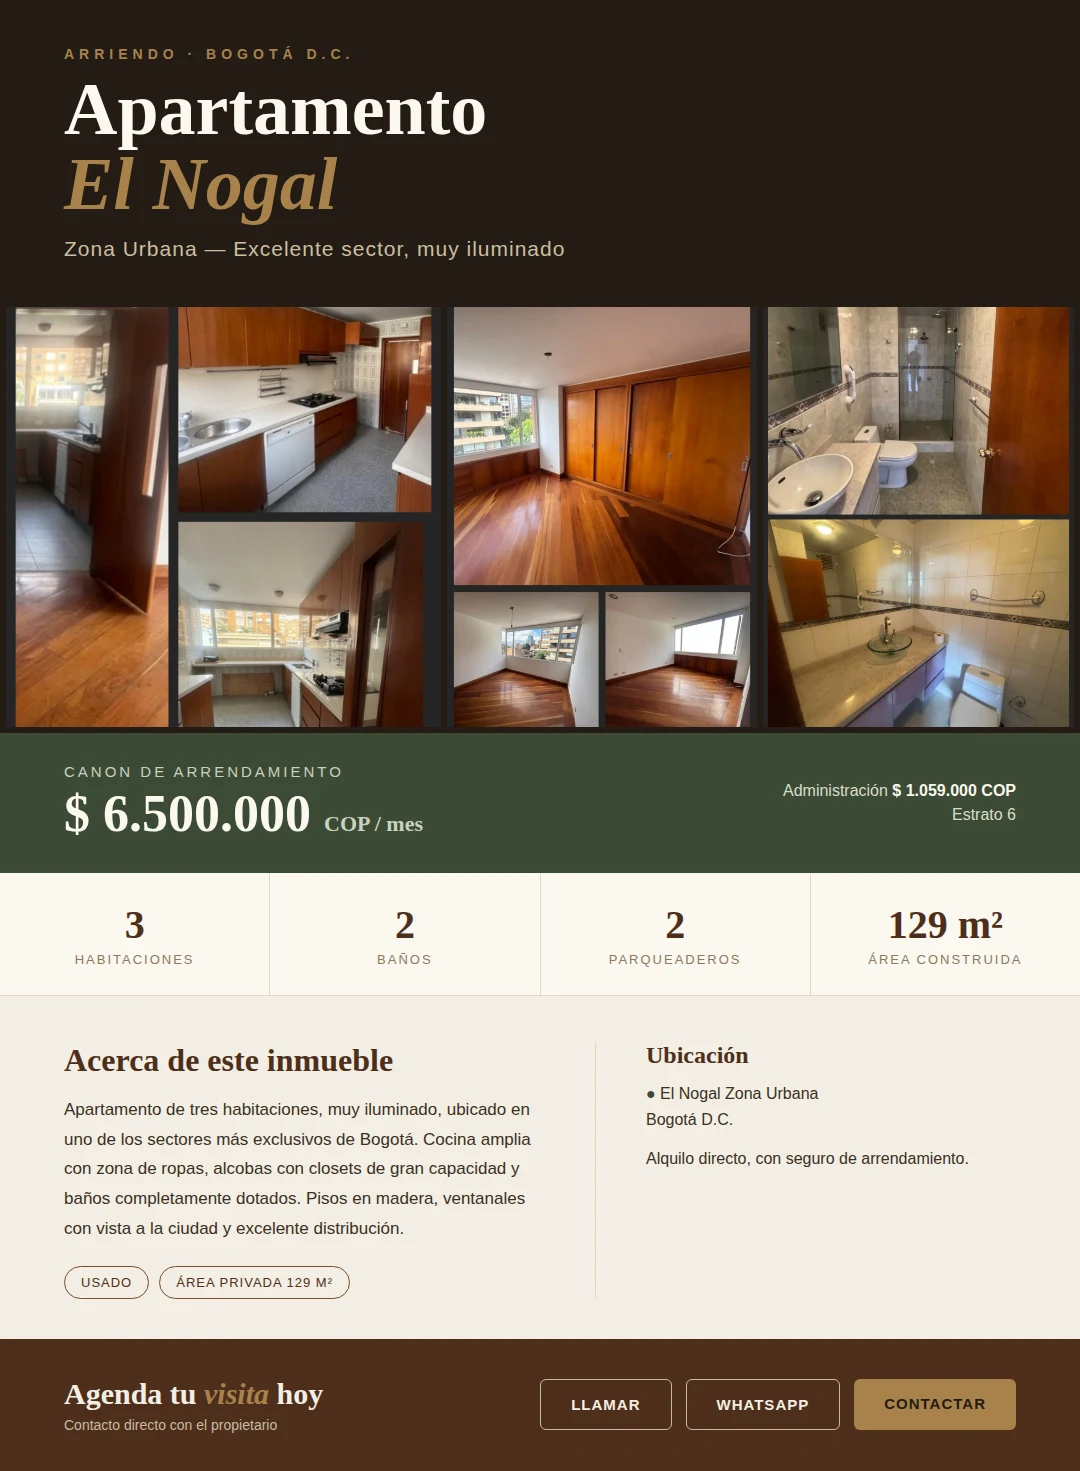
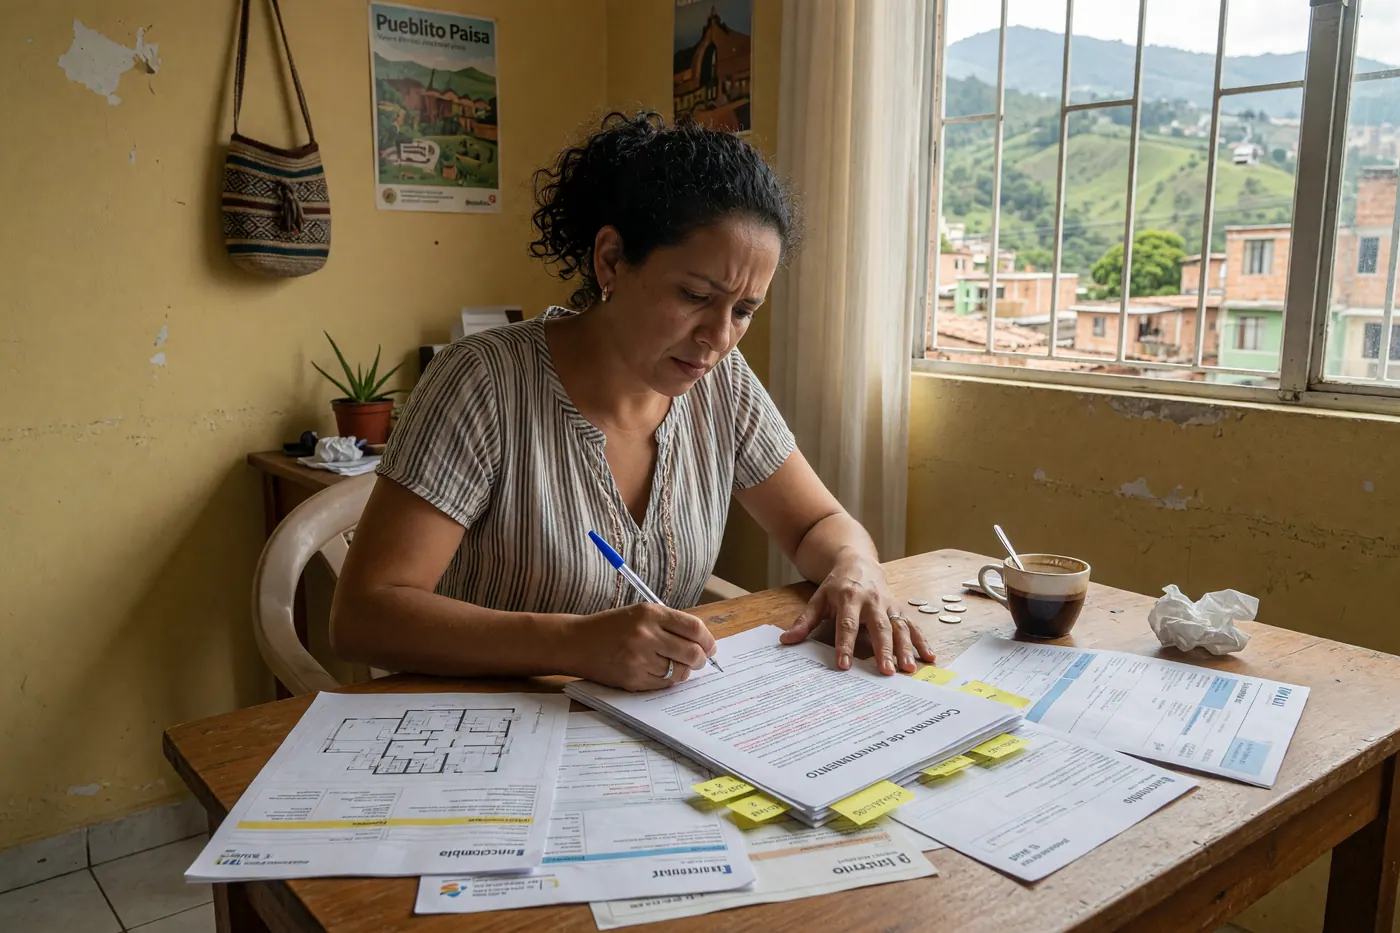
Last week I reviewed an apartment in Envigado that should have sold in three days. Three bedrooms, remodeled kitchen, balcony with a view. The price was fair. It had been listed for four weeks and received two messages.
The photos were a disaster. Eight photos taken at night, from the back of the rooms, with the phone flash off half the time. The main living room looked like a storage room. The bathroom didn't even appear in the photos. The only exterior angle was a shot from below, backlit, where the balcony looked like a gray patch. If you want to see real options right now, you can view apartments and houses on Colombia Move — posting is completely free.
The apartment was beautiful. The photos said it wasn't. And the buyer never gets to know the difference. If you have a property listed — or are about to list one — this is the highest-impact change you can make. You don't need to hire a photographer. You need to know exactly what to photograph, how to do it with your phone, and what specific mistakes are scaring away buyers.
Why photos decide before price does
Before reading the price, before reading the description, the buyer has already made an unconscious decision when seeing the thumbnail. If the photo doesn't generate interest, the listing doesn't open.
It's not an exaggeration. Platforms show results in a grid: the eye scans dozens of thumbnails in seconds. A poorly lit photo, out of focus, or one that shows a cluttered space goes completely unnoticed.
What works worst: night photos with direct flash, shots from the doorway where the room's contents block the view, and photos where you see clothes, boxes, or clutter in the background. Not because the buyer is demanding, but because their brain registers that as carelessness — and automatically transfers it to the property and the seller.
What you need (hint: you already have it)
You don't need a DSLR camera. You don't need a professional tripod or a drone. Most phones made after 2020 take photos good enough to sell a property, as long as you use them right.
- A clear day, or at least a morning with good natural light
- 20-30 minutes to organize each space before photographing it
- A cloth to clean your phone lens (seriously, it makes a difference)
- Knowing which photos to take and in what order
That's all the equipment. What changes results is judgment, not gadgets.
The list of spaces: what to photograph and in what order
An apartment or house listing should have between 12 and 20 photos. Fewer than 10 generates distrust. More than 25 starts to tire. Order matters: follow the logic of how someone would walk through the property in person.
The spaces that matter most
Living room or social area. It's the most important photo of the apartment. Take it from the widest corner of the room, with windows in the background so natural light comes in. If you have a sofa, visible refrigerator from the living room, dining area — show the integration of the space.
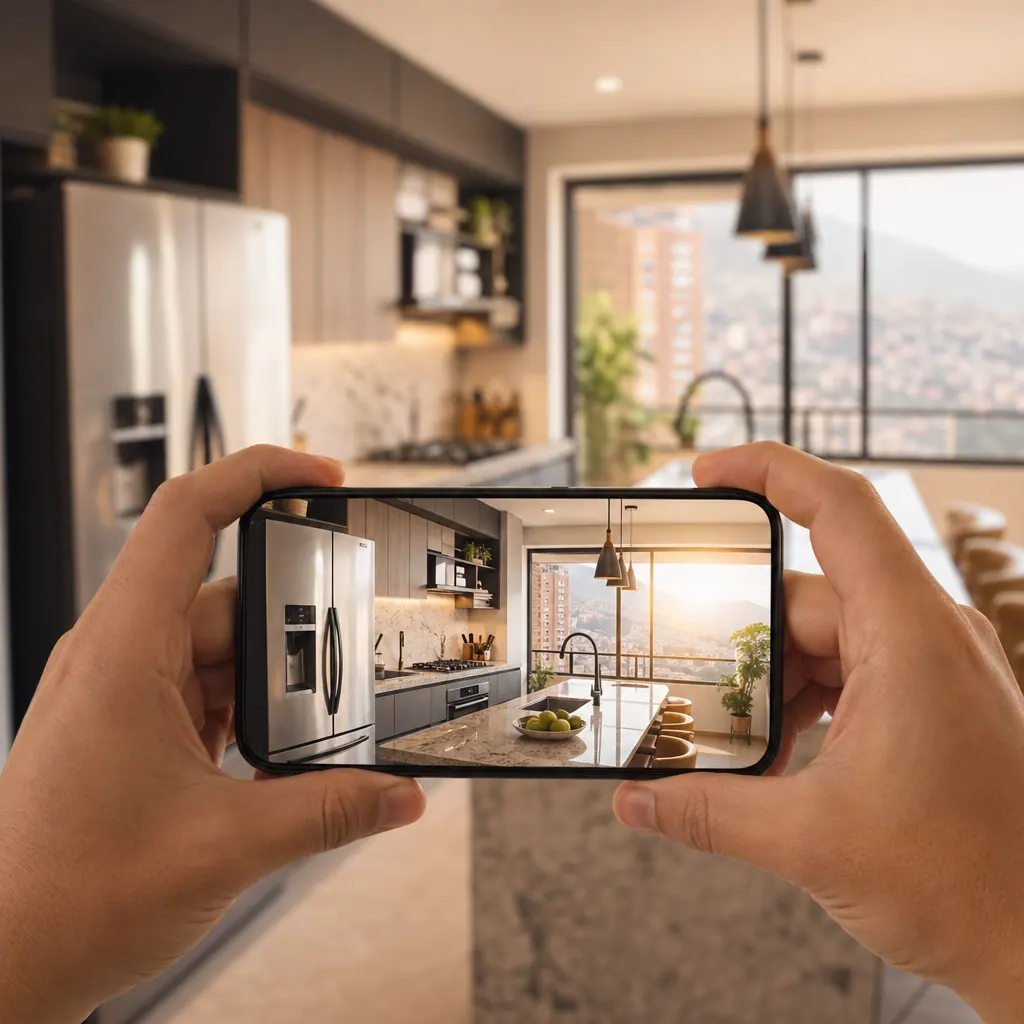
Kitchen. Always include. Clean the stove, clear everything off the counter, put away what's not used. A clear kitchen looks bigger. Take the photo from the entrance, showing the counter and appliances.
Master bedroom. Bed made, pillows organized, no visible clothes. The photo from the corner opposite the bed, including the window if there is one.
Main bathroom. The most ignored space and the one that generates the most distrust if it looks bad. Clean the mirror, fold the towels, close the toilet lid. Take the photo from the doorway or from the sink pointing toward the back.
The spaces you can't skip
View or balcony. If it exists, it's a key differentiator. Photograph it during the day with natural light. From inside pointing outward — and also from outside if possible.
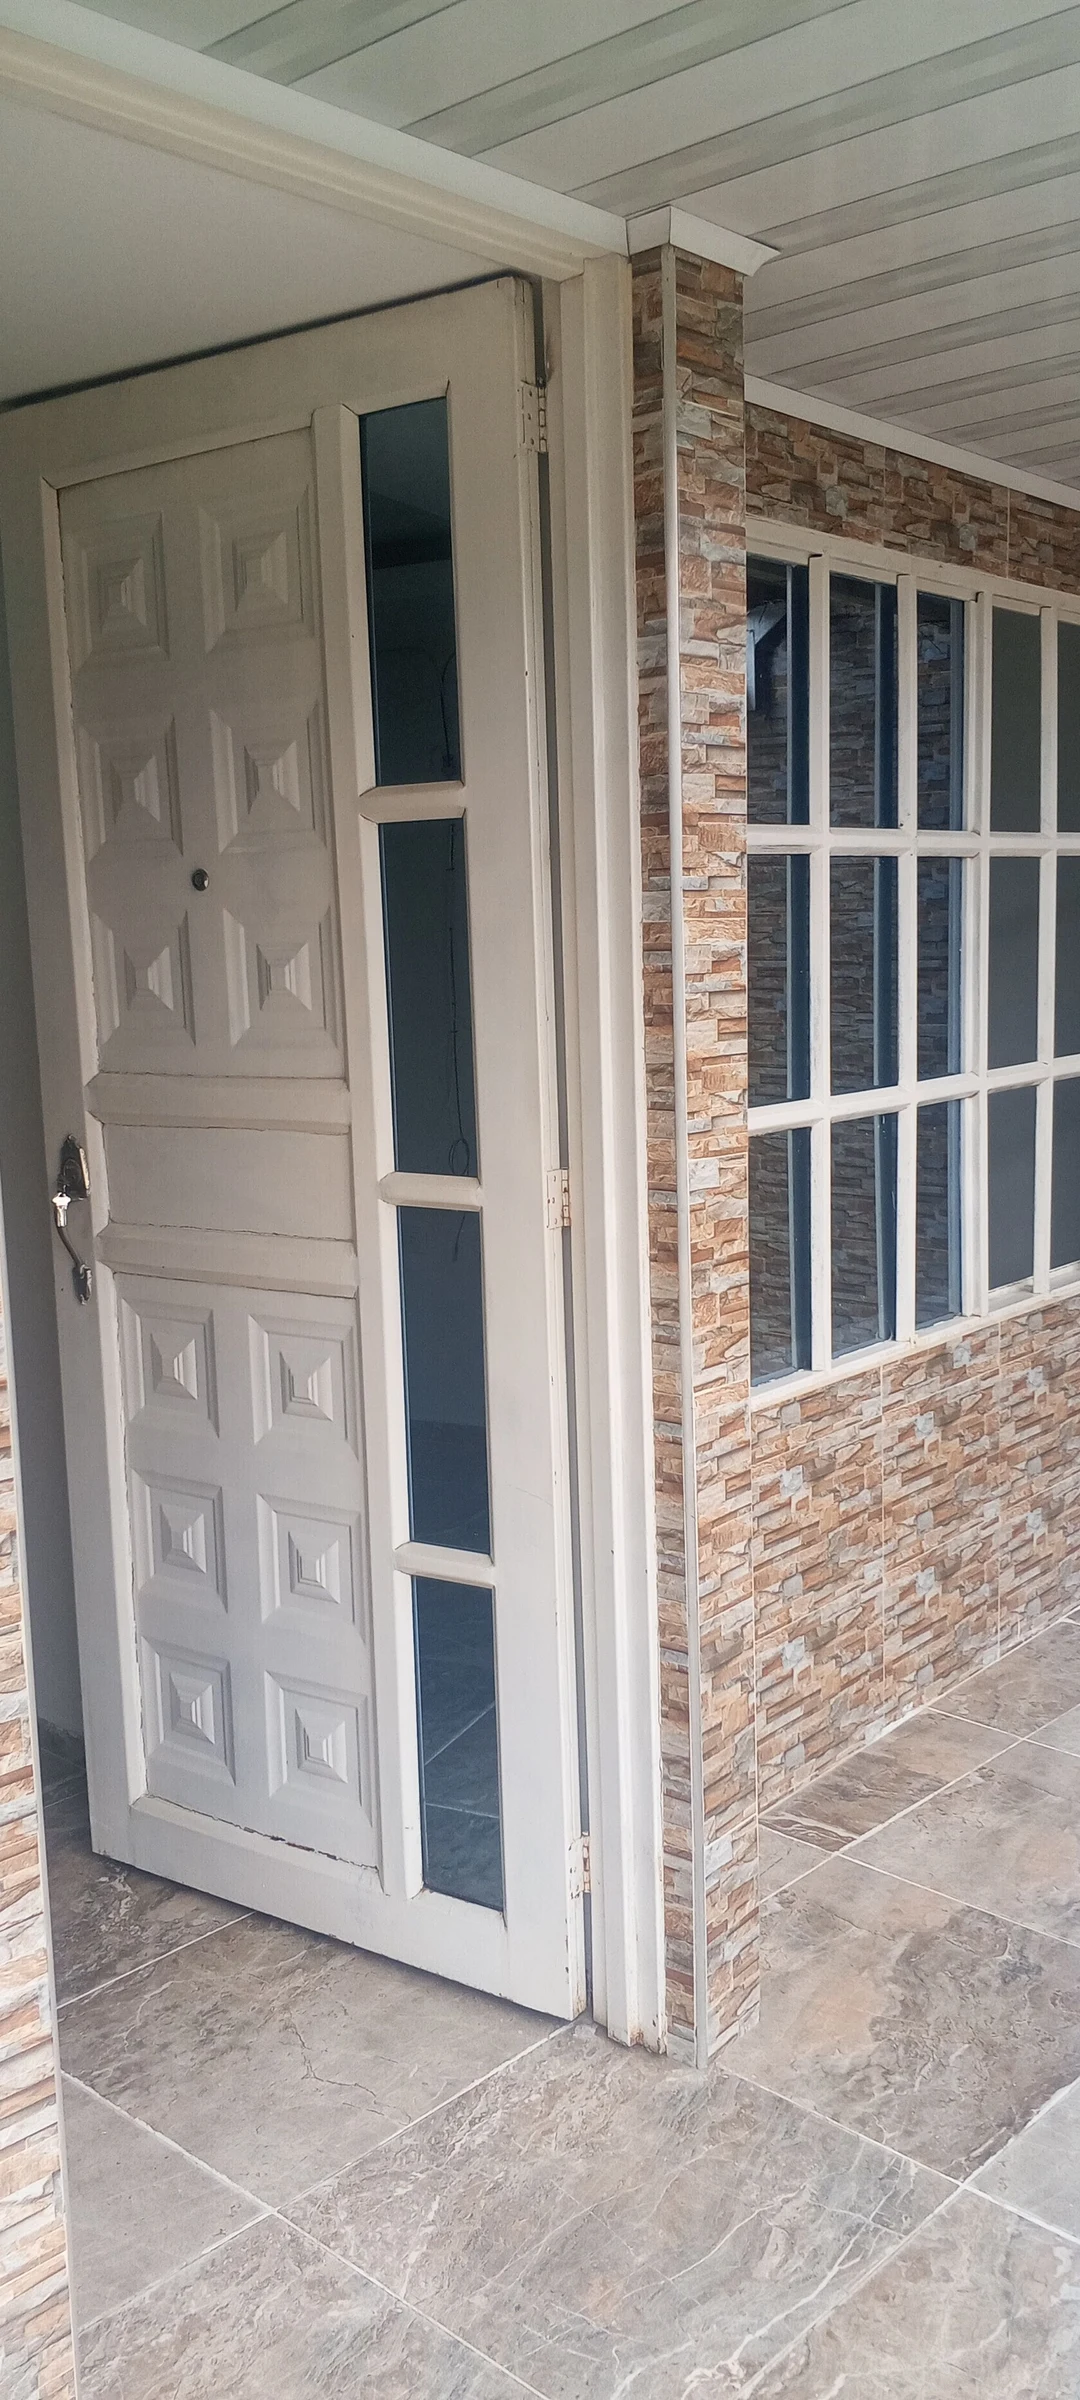
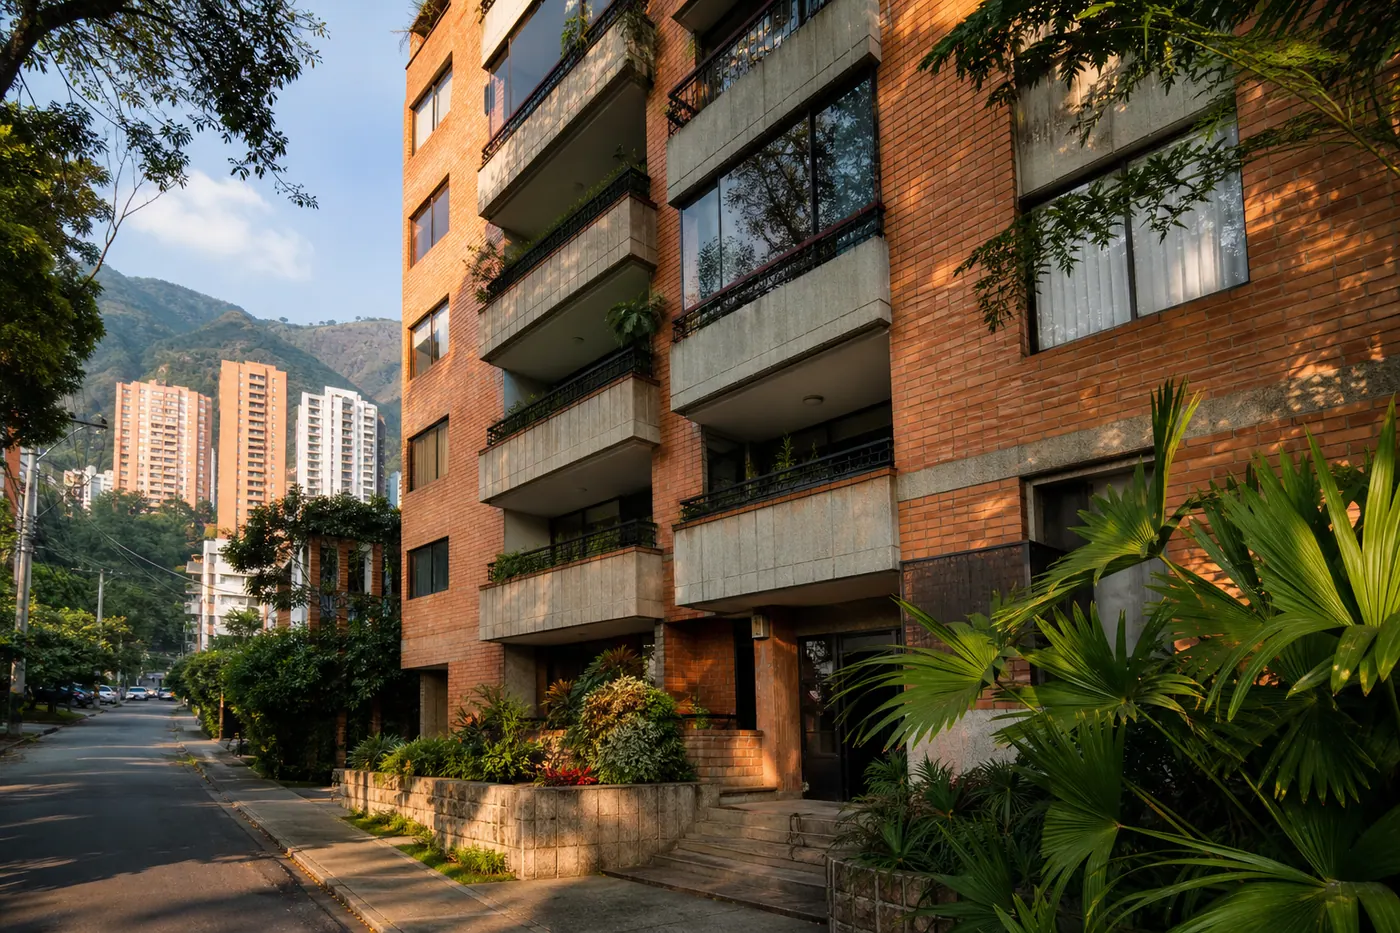
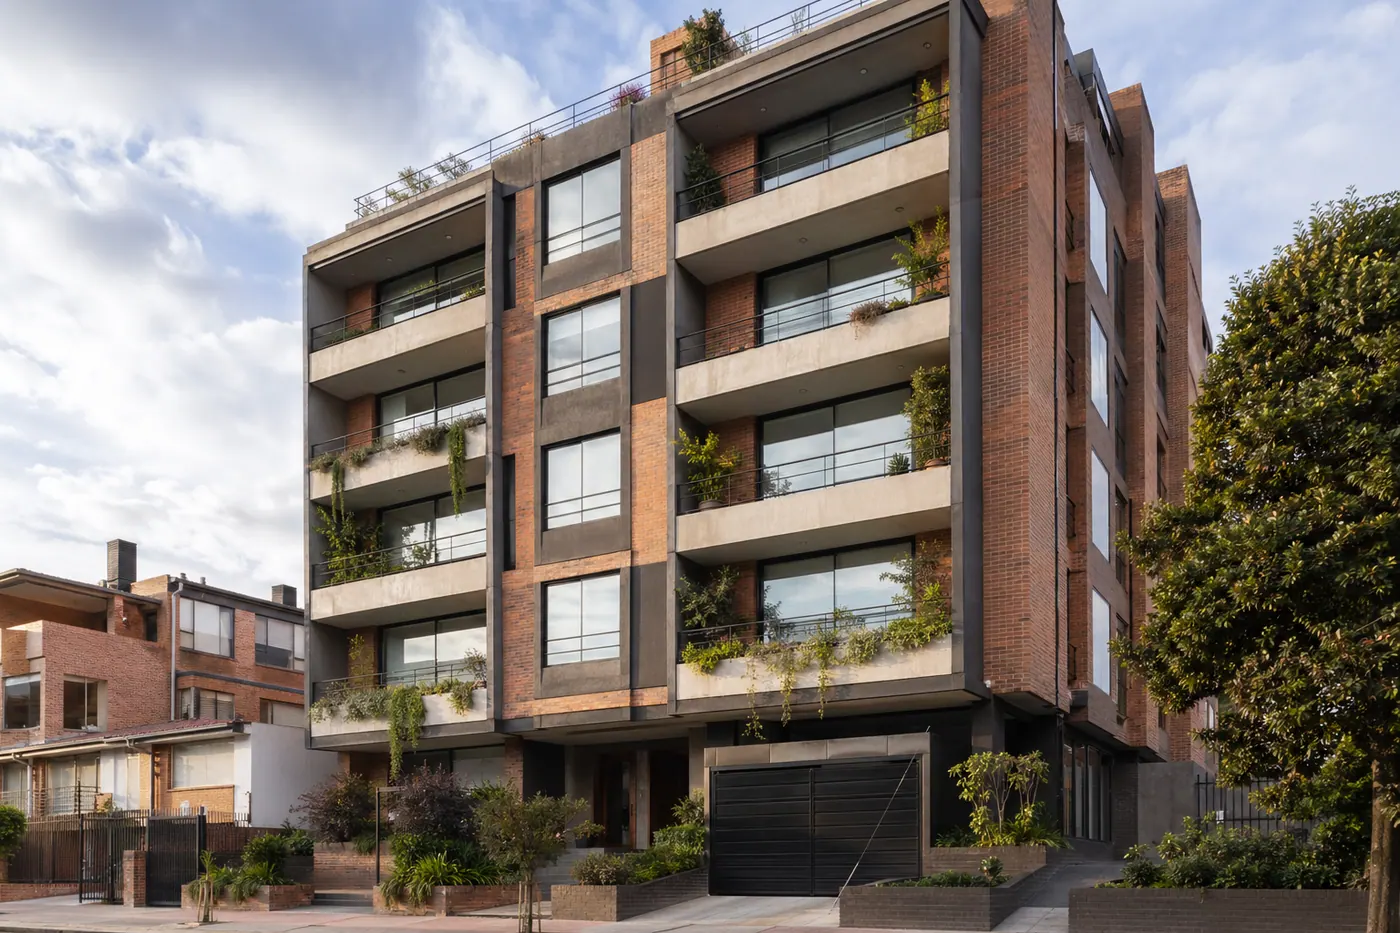
Facade or entrance. An exterior photo gives context. The buyer wants to know what the building or house looks like from outside before scheduling a visit.
Parking. If it comes with parking, show it. It's a valuable space and many buyers prioritize it — if it doesn't appear in the photos, they're going to ask anyway.
Common areas. If the building has a pool, gym, BBQ, concierge — take photos. They increase perceived value and answer questions before they're asked.
How to take each photo (basic technique with phone)
Natural light is everything
Rule number one of property photography: never photograph at night, never use your phone's flash, and never photograph against the light.
The ideal time in Colombia is between 9am and 12pm, or between 3pm and 5pm when there's good afternoon light. Open all blinds and curtains to the maximum before you start. If there's a window at the back of the room, stand with that window behind you — not behind the object.
If the space has little natural light, turn on all ceiling and table lights before taking the photo. The combination of artificial and natural light usually works better than either one alone.
The correct angle for each space
For enclosed spaces like rooms, kitchens and bathrooms: from the corner or from the doorway, with the phone at waist height, slightly tilted upward. This visually enlarges the space and avoids the flattened ceiling effect.
For facades and outdoor areas: at eye level, from the distance that shows the entire building without it being cut off at the edges.
For details like new finishes, closets or remodeled kitchens: get close enough so the detail is visible without losing the context of the space.
Activate your phone's grid (camera settings → grid) to keep horizontal lines straight. Nothing distorts a photo more than a tilted horizon.
The mistakes that do the most damage
I've been reviewing property listings for a while and these are the ones that appear most often:
Photos with people or pets. The buyer doesn't want to see the current owners in the space — they want to project themselves living there. Take photos when there's no one in the frame.
Mirrors that reflect the photographer. Check each photo before uploading. If the bathroom mirror has you with the phone raised, that photo doesn't work.
Vertical photos (portrait mode) for spaces. Rooms always look better in horizontal. The brain processes spaces that way. The only exception is very narrow closets or bathrooms.
Uploading only 3 or 4 photos. Unless it's a small space or a rental room, few buyers will bother asking if there aren't enough images to get a clear idea.
Out of focus or blurry photos. Tap your phone screen on the area you want to focus on before shooting. Don't rely on autofocus when objects are very close to the lens.
Before uploading: the five-second filter
Before uploading the photos to your listing, run each one through this quick filter:
- Does the photo have good light? If it looks dark, it doesn't work.
- Is the background organized? A single object out of place is distracting.
- Is the photo horizontal? If not, it's for closets or very narrow spaces.
- Is anyone reflected or in the frame? Delete that photo.
- Can you see exactly what space it is? If you have to guess, it's not serving its purpose.
If a photo fails on any of these points, it's better not to upload it than to upload it. An ad with 12 good photos always beats one with 20 photos where half are bad.
📖 Keep reading
Do you have the photos ready? The next step is to publish the listing right from the start:
Frequently asked questions
❓ How many photos should an apartment listing in Colombia have?
Between 12 and 20 photos is the ideal range. Enough for the buyer to have a clear image of all spaces, without overwhelming them. Fewer than 10 generates distrust; more than 25 starts to feel repetitive.
❓ Do I need to hire a professional photographer to sell my apartment?
For most properties, no. A modern cell phone with good natural light is enough. A professional photographer might be worth it if the property exceeds 500 million pesos or if it's in a very competitive market — but for the mid-range, photos you can take yourself are perfectly effective.
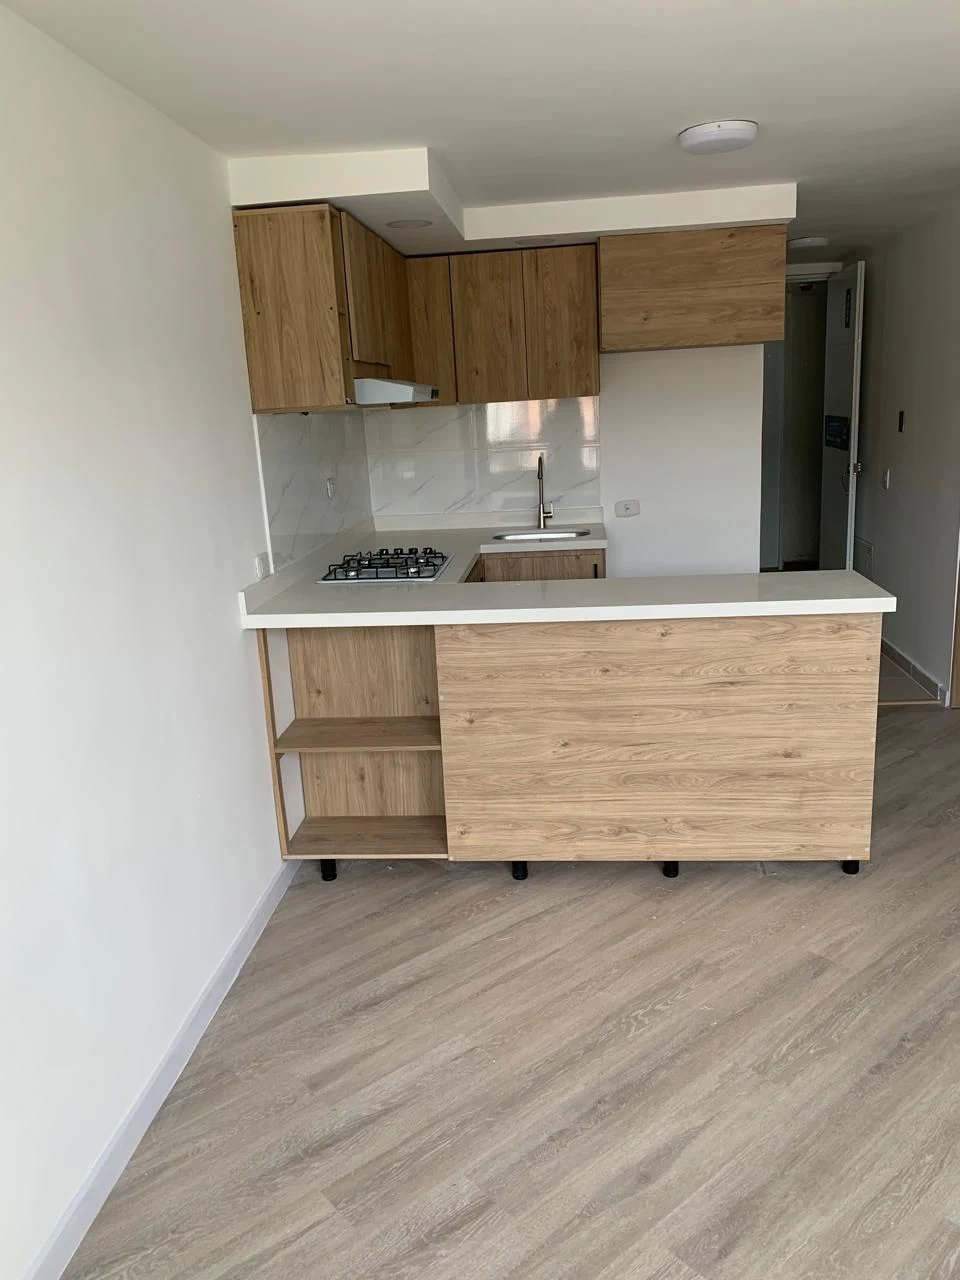
❓ Is it better to photograph the apartment furnished or empty?
Furnished is almost always better. Furnished spaces help the buyer imagine what it would be like to live there — and they look bigger and warmer than empty spaces. The only exception is if the furniture is very deteriorated or if the apartment has architectural details that the furniture is covering.
❓ Should I edit the photos before uploading them?
A slight adjustment of brightness and contrast is fine. What you shouldn't do is oversaturate colors or use filters that change how the space really looks — it generates distrust when the buyer arrives to visit and it doesn't match what they expected to see.
❓ What time of day is best to photograph a property in Colombia?
Between 9am and 12pm in apartments with north or south orientation, and between 3pm and 5pm if they have west orientation. The goal is to take advantage of maximum natural light without direct sun that creates harsh shadows. In cities like Medellín and Cali, weekdays tend to be clearer than weekends.
Do you have questions about how to improve your listing photos? Share your questions in the Colombia Move community — other sellers and buyers can give you real feedback in minutes.
👉 Join the discussion at colombiamove.com/comunidad
Comments
Loading comments...
Checking sign-in status...